Residential Drywall Installation

New builds, basement finishing, additions and garage conversions. Board hung, taped and finished to Level 4 or Level 5.
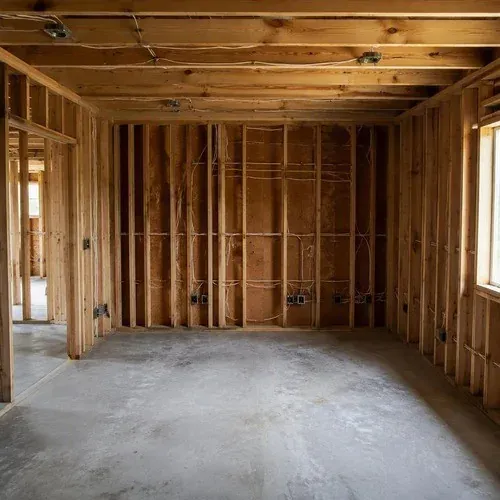
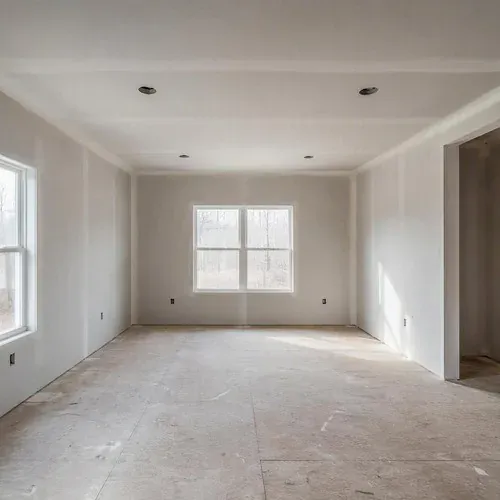
Before Open wood stud framing in a Niagara home, inspected and ready for drywall installation to begin
Open wood stud framing in a Niagara home, inspected and ready for drywall installation to begin
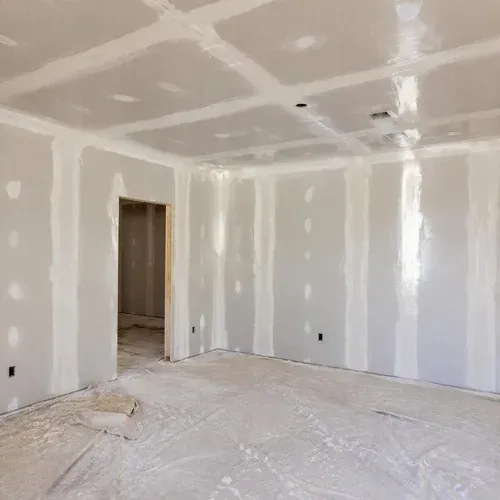
After Finished smooth drywall walls in an empty living room, sanded to a Level 4 paint-ready surface
Finished smooth drywall walls in an empty living room, sanded to a Level 4 paint-ready surface
See the stages in between
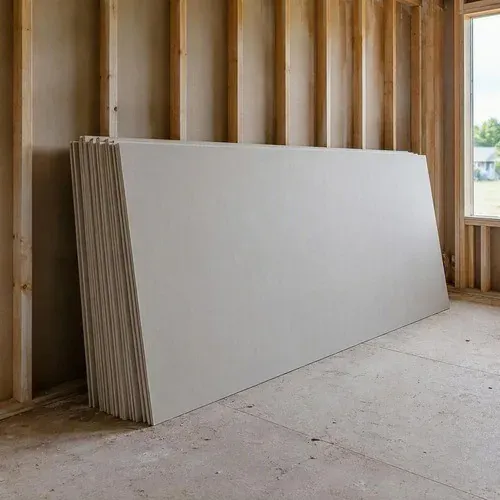
New drywall sheets delivered and stacked in an empty room before board hanging starts
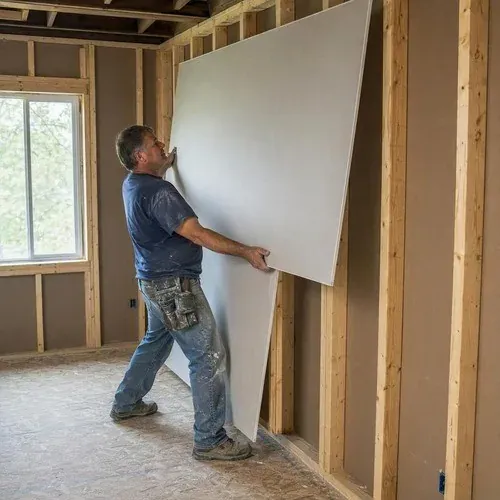
Installer lifting a drywall panel onto bedroom wall studs during a residential installation
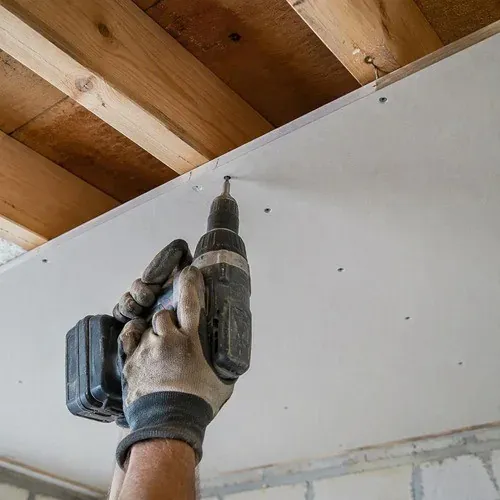
Screwing 5/8 inch drywall to ceiling joists, set flush so no screw pops show through the finish
More about residential drywall installation ›

Commercial Drywall Installation

Steel stud partitions, retail and office fit-outs, fire-rated and acoustic assemblies, worked around your trades and your schedule.
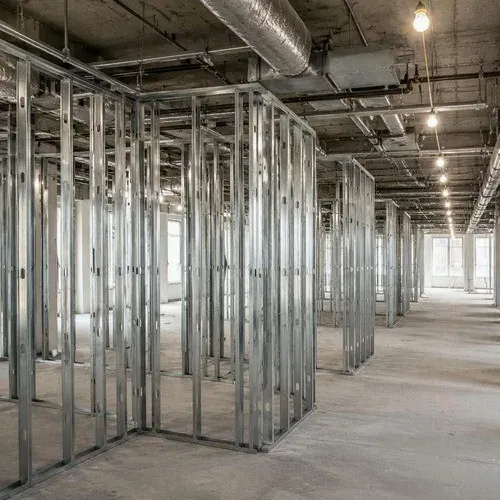
Before Metal stud framing laid out across an open commercial office floor ahead of boarding
Metal stud framing laid out across an open commercial office floor ahead of boarding
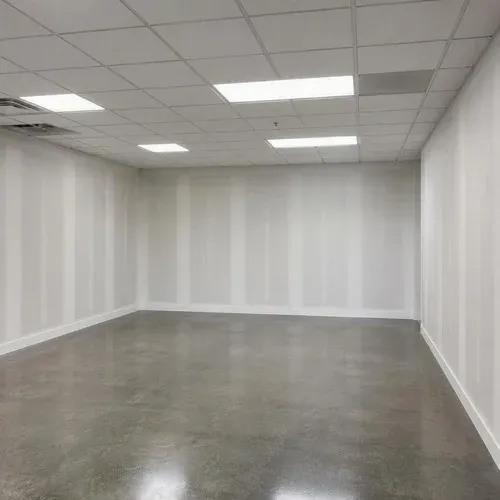
After Finished commercial office walls handed over ready for the painter to prime
Finished commercial office walls handed over ready for the painter to prime
See the stages in between
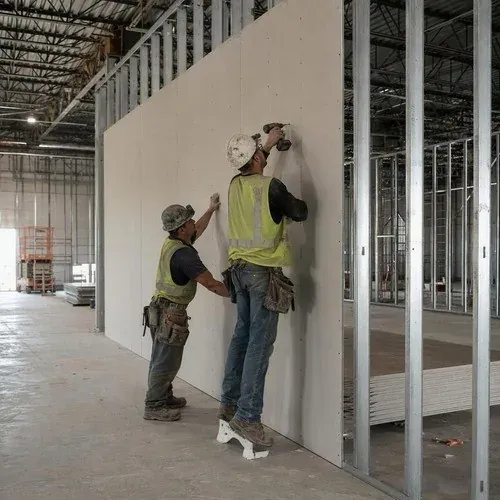
Crew installing drywall on steel studs in a Niagara warehouse conversion
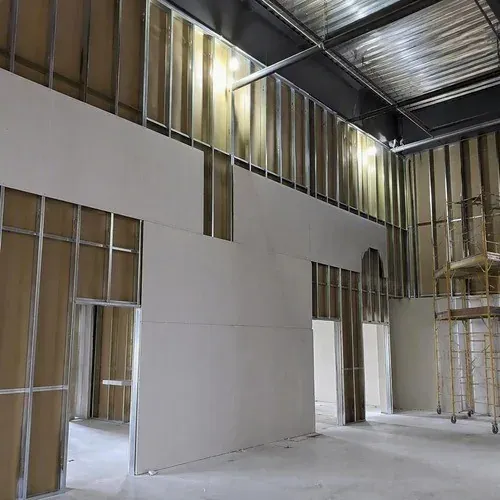
Tall commercial partition walls being boarded from staging, with deck-height framing behind
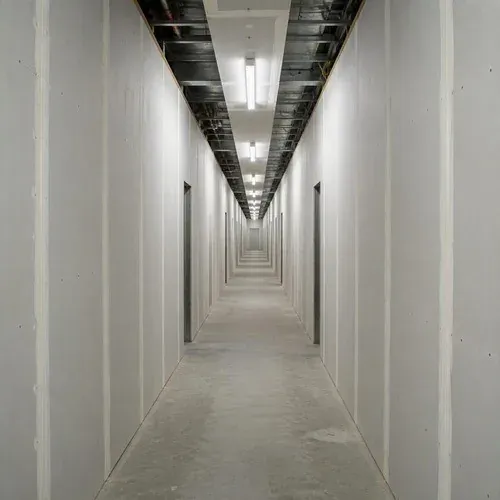
Drywall panels installed along a long commercial corridor, joints staggered for a flat finish
More about commercial drywall installation ›

Drywall Taping & Finishing

Taping, mudding and sanding to Level 3, 4 or 5. The half of the job everyone can see once the paint is on.
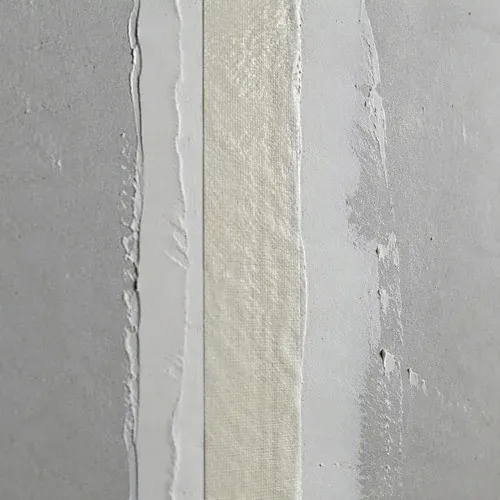
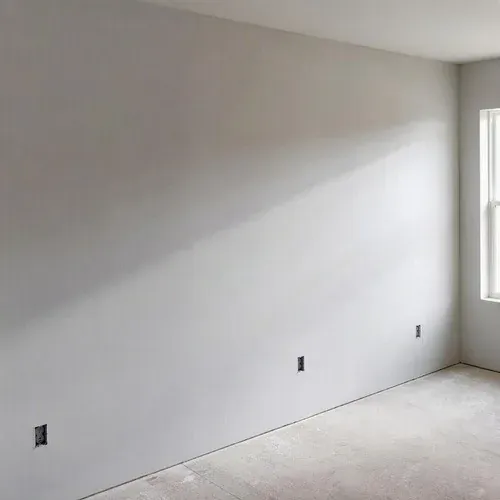
Before Paper tape bedded over a drywall seam in the first coat of compound
Paper tape bedded over a drywall seam in the first coat of compound
After Sanded and feathered seams checked under raking work light, ready for primer
Sanded and feathered seams checked under raking work light, ready for primer
See the stages in between
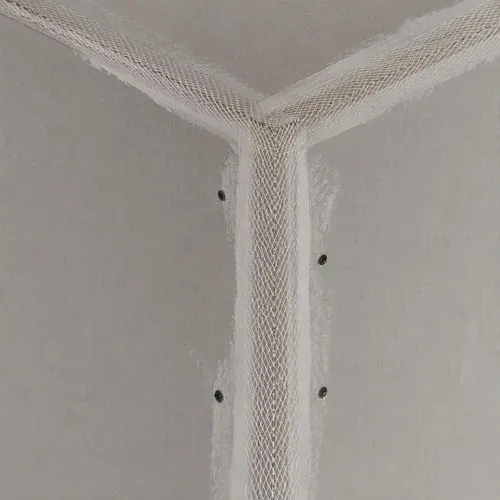
Mesh tape covering an inside corner joint before the corner is coated and struck
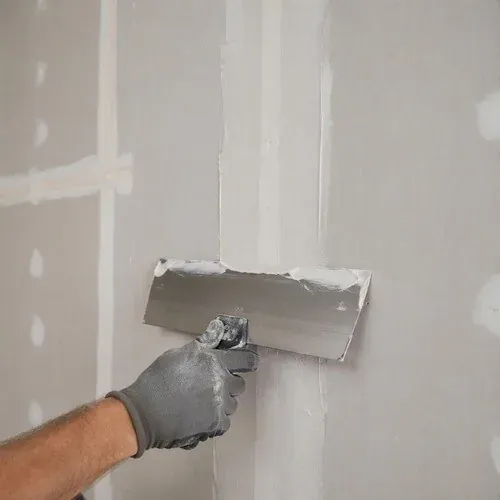
Taping knife spreading joint compound along a seam, working wide to keep the joint flat
Drywall seams and screw heads coated with wet compound, left to dry a full day between coats
More about drywall taping & finishing ›

Drywall Repair

Doorknob holes, cracked seams, nail pops and impact damage patched and blended so you cannot find the repair afterward.
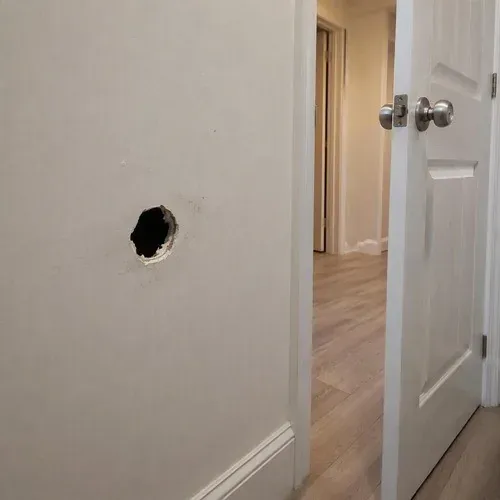
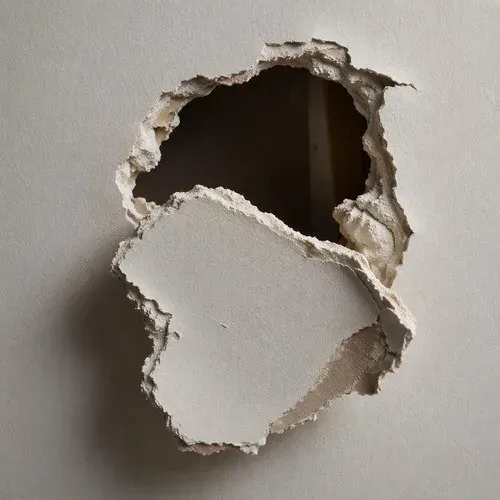
Before Doorknob punched clean through hallway drywall, the most common repair call we take
Doorknob punched clean through hallway drywall, the most common repair call we take
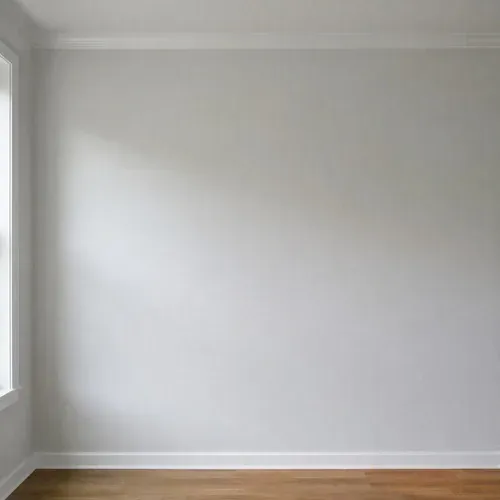
After Repaired wall section painted and blended so the patch cannot be picked out under side light
Repaired wall section painted and blended so the patch cannot be picked out under side light
See the stages in between
Hole in a drywall wall with the broken piece still dangling loose from the paper facing
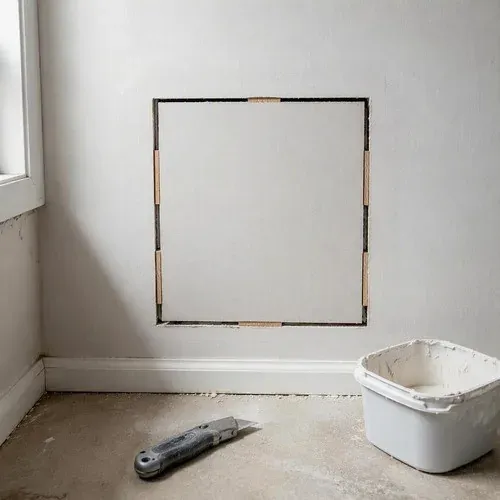
Patch piece cut square and fitted into the drywall opening, backed and fastened before mudding
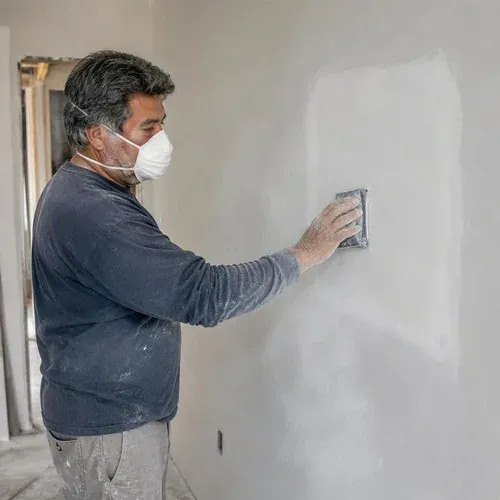
Sanding a drywall patch flat and feathering the edges out into the surrounding wall
More about drywall repair ›

Water Damage Drywall Repair

Stained ceilings, sagging board and flooded basements. Wet material out, cavity dried, new board in and finished.
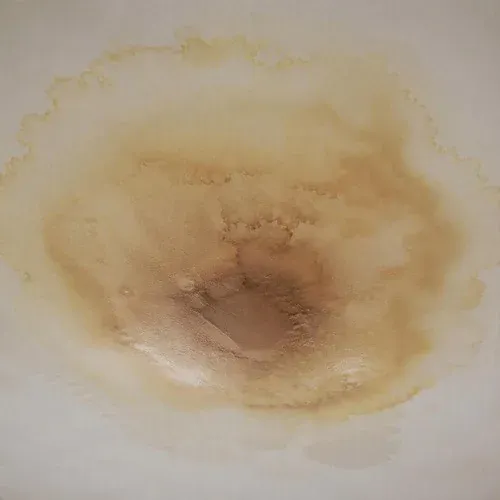
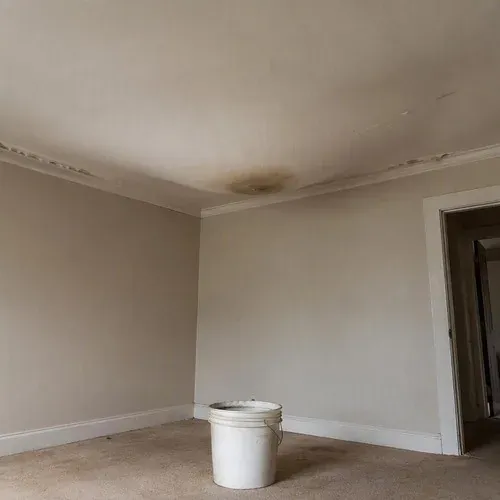
Before Brown water stain spreading across bedroom ceiling drywall from a leak above
Brown water stain spreading across bedroom ceiling drywall from a leak above
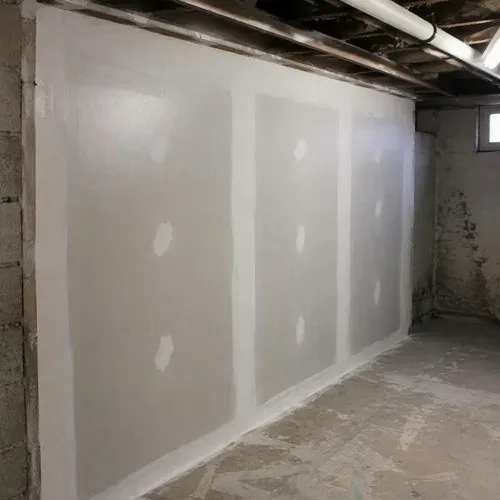
After New moisture-resistant drywall replacing a water damaged basement wall, taped and finished
New moisture-resistant drywall replacing a water damaged basement wall, taped and finished
See the stages in between
Sagging wet drywall bulging below a roof leak, past saving and ready to come out
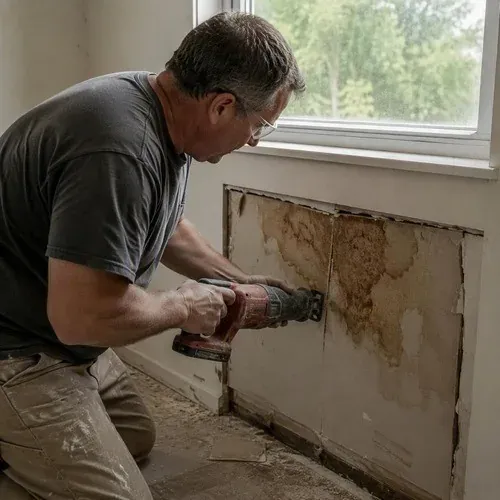
Cutting out water damaged drywall below a window, back to sound board and dry framing
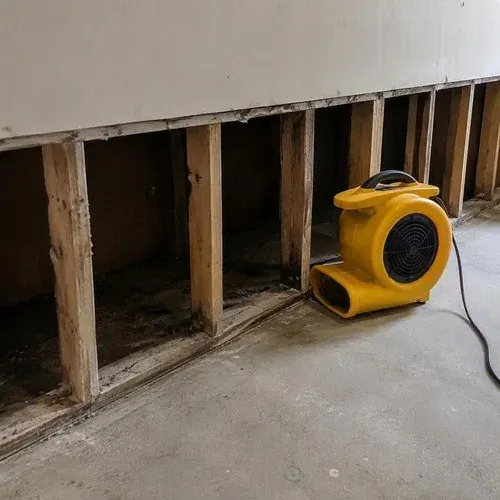
Fan drying an opened wall cavity after a basement flood, before any new board goes on
More about water damage drywall repair ›

Plaster Repair

Lath and plaster in century homes fails differently than drywall. We repair it as plaster, not by patching it like board.
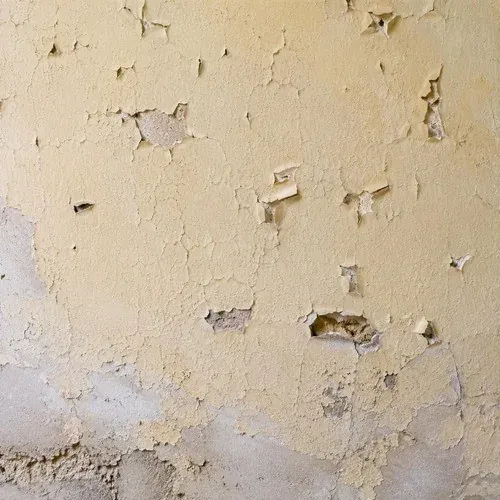
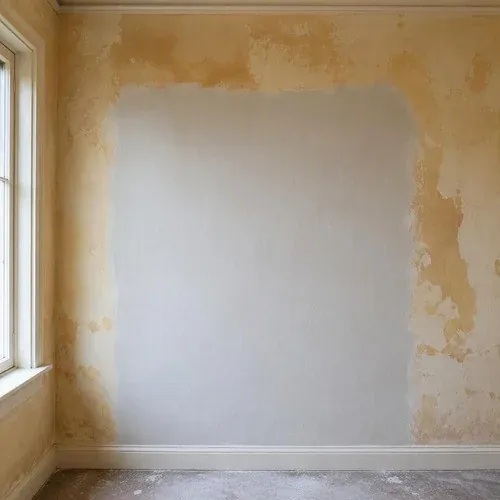
Before Cracked plaster wall with a flaking surface in a century St. Catharines home
Cracked plaster wall with a flaking surface in a century St. Catharines home
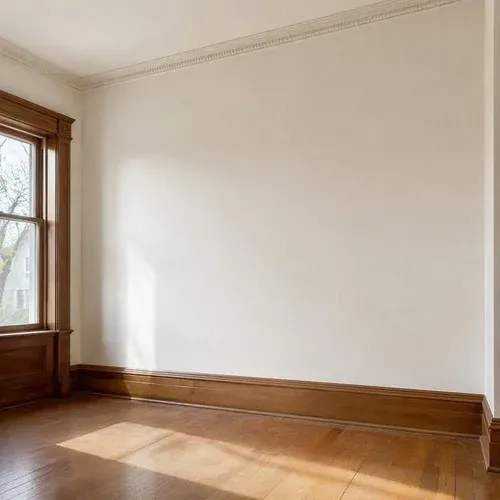
After Restored smooth plaster wall in an older Niagara home, repaired as plaster rather than boarded over
Restored smooth plaster wall in an older Niagara home, repaired as plaster rather than boarded over
See the stages in between
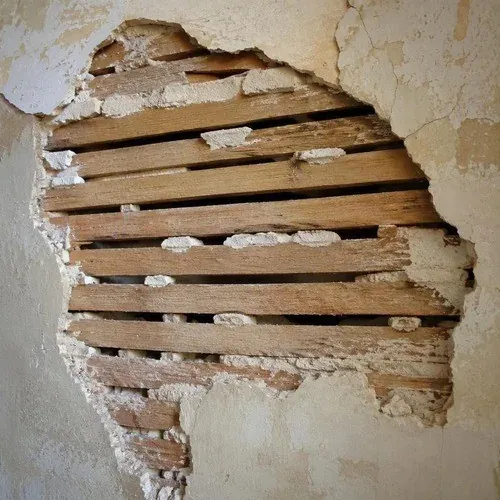
Loose plaster separating from the wood lath behind it, which is how plaster actually fails
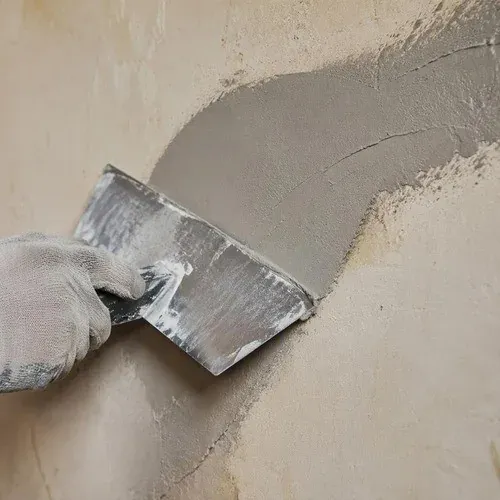
Trowel smoothing fresh plaster over a settlement crack, keyed into the sound material around it
Patched plaster section curing on a heritage wall before the finish coat
More about plaster repair ›

Plaster Crown Moulding Repair

Original cornices and decorative plaster run, cast and matched to the existing profile rather than boxed over.
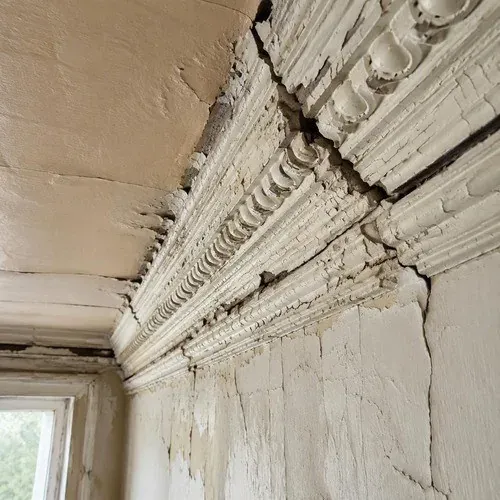
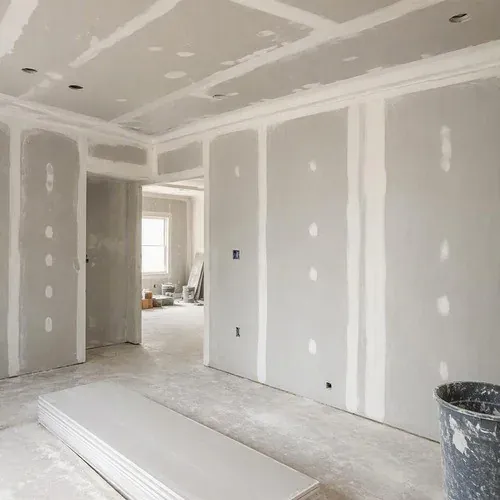
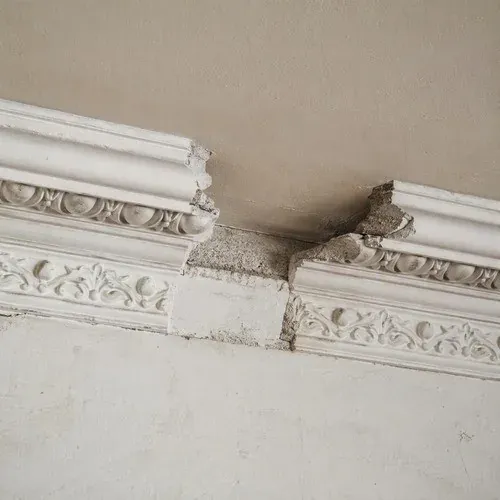
Before Cracked ornate plaster cornice running along an old ceiling edge
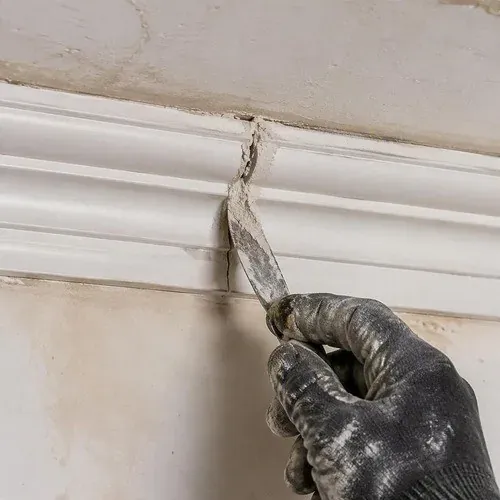
Cracked ornate plaster cornice running along an old ceiling edge
After Restored decorative crown moulding painted crisp white, profile matched to the original run
Restored decorative crown moulding painted crisp white, profile matched to the original run
See the stages in between
Damaged plaster crown moulding with a decorative section missing entirely
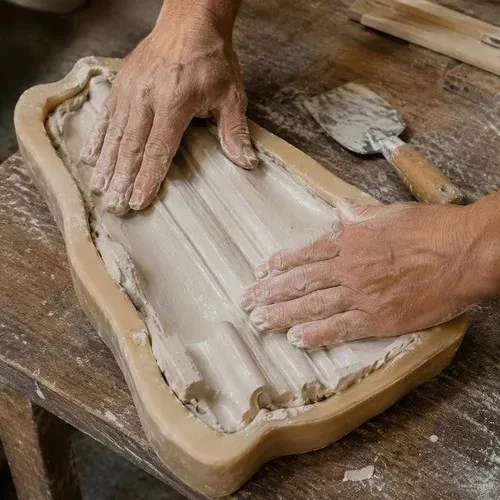
Hand casting a replacement plaster moulding detail from a mould taken off the original profile
Filling and working the joint where the new cast section meets the original cornice
More about plaster crown moulding repair ›

Popcorn Ceiling Removal

Stipple and popcorn texture removed, ceilings skimmed flat and left paint-ready. Asbestos testing first on pre-1990 texture.
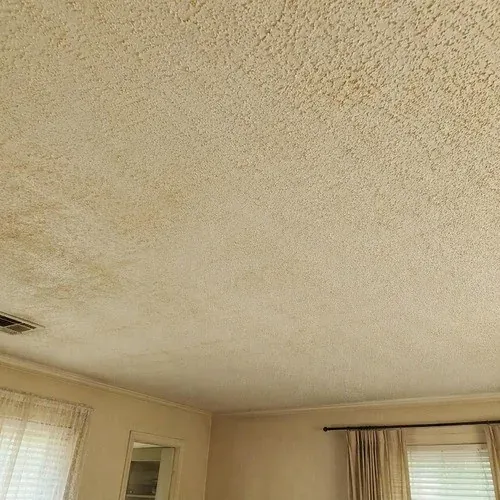
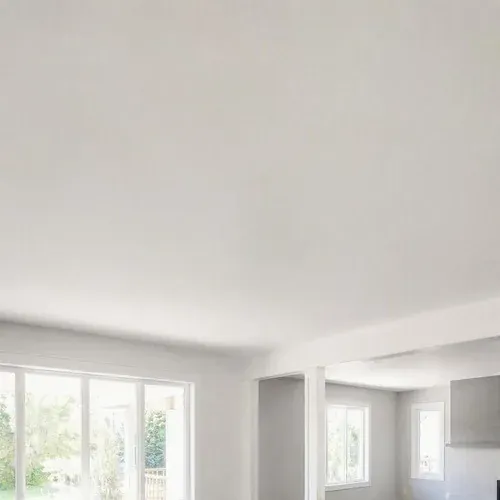
Before Dated popcorn ceiling in a post-war St. Catharines living room, due for removal
Dated popcorn ceiling in a post-war St. Catharines living room, due for removal
After Smooth white ceiling after popcorn removal, skimmed flat and left paint-ready
Smooth white ceiling after popcorn removal, skimmed flat and left paint-ready
See the stages in between
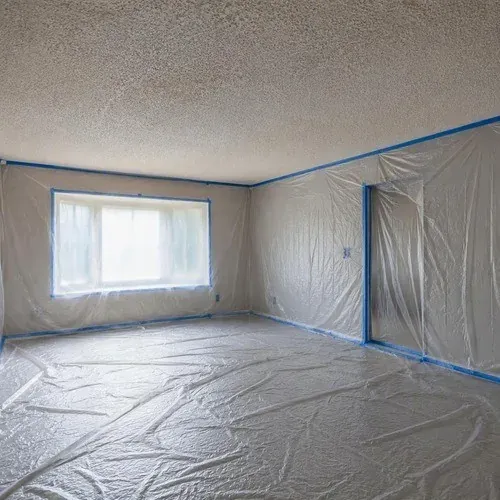
Plastic sheeting masking floors and walls before any popcorn ceiling texture comes down
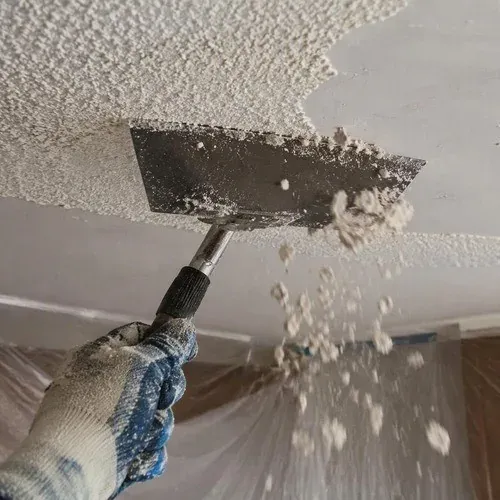
Scraping wetted popcorn texture off a bedroom ceiling, which keeps dust down and protects the board
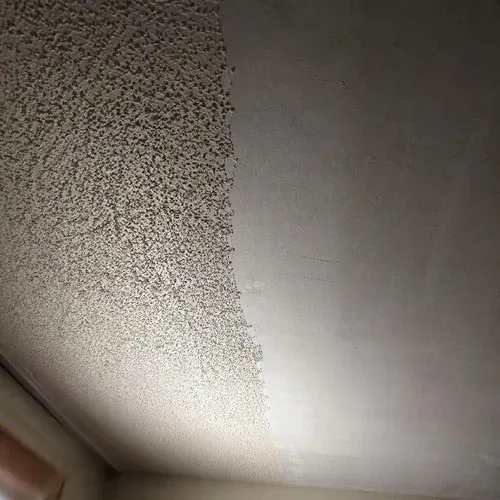
Partially scraped ceiling showing bare drywall where the stipple texture has been removed
More about popcorn ceiling removal ›

Textured Ceiling & Wall Repairs

Knockdown, orange peel, swirl and stipple matched across a patch so the repaired area reads as original.
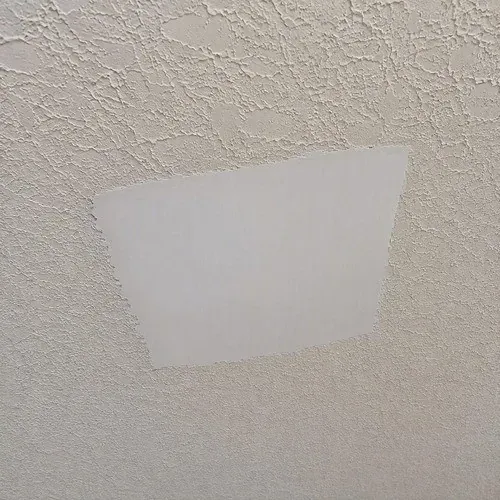
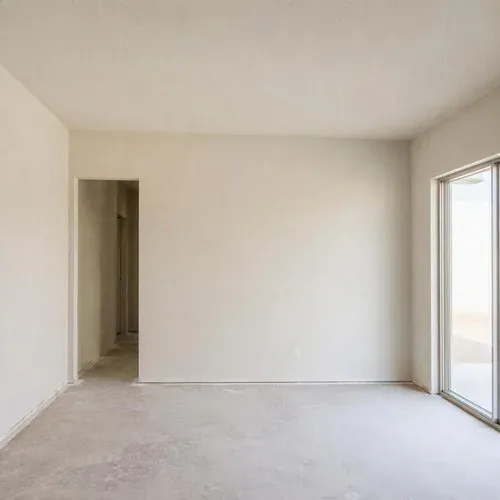
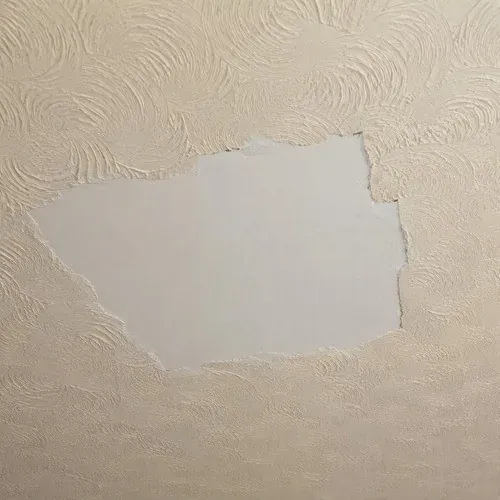
Before Knockdown textured ceiling with a damaged area patched flat and waiting for texture
Knockdown textured ceiling with a damaged area patched flat and waiting for texture
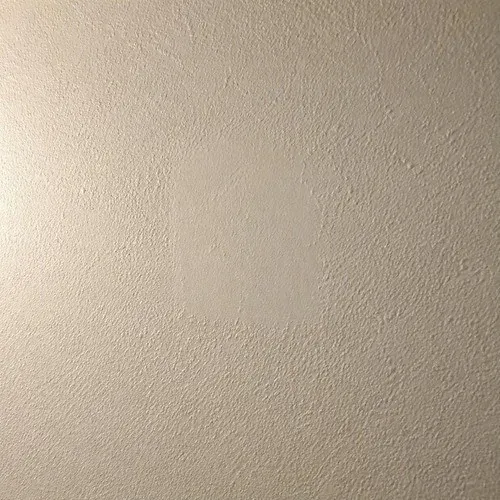
After Finished textured wall matching the surrounding original texture after painting
Finished textured wall matching the surrounding original texture after painting
See the stages in between
Swirl textured ceiling section awaiting a blend, with the original pattern still readable
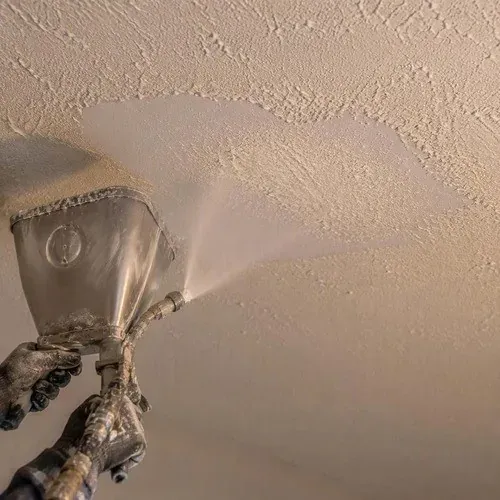
Spraying texture onto a repaired ceiling, dialled in on a test board first to match the original
Orange peel texture blended out over a wall patch so the edge of the repair disappears
More about textured ceiling & wall repairs ›

Pot Light Hole Repair

Recessed light holes plugged, mudded and textured out, including the ones left behind when a fixture layout changes.
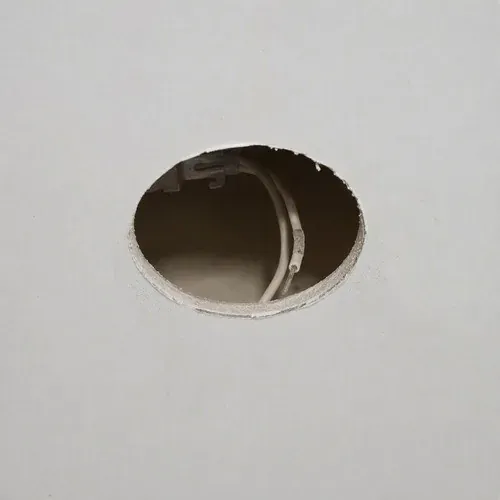
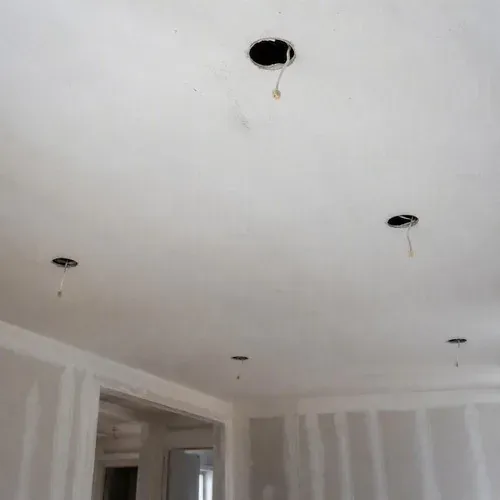
Before Round pot light hole left open in a ceiling after a recessed fixture was removed
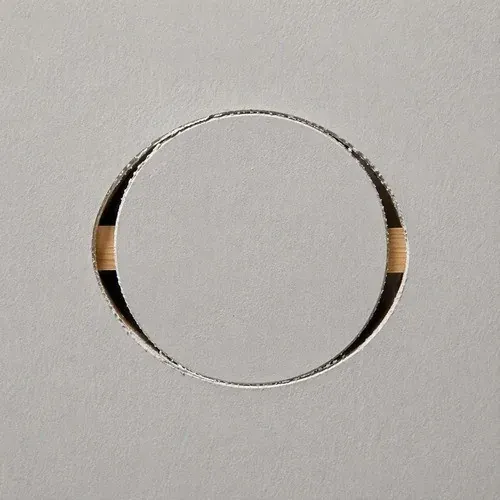
Round pot light hole left open in a ceiling after a recessed fixture was removed
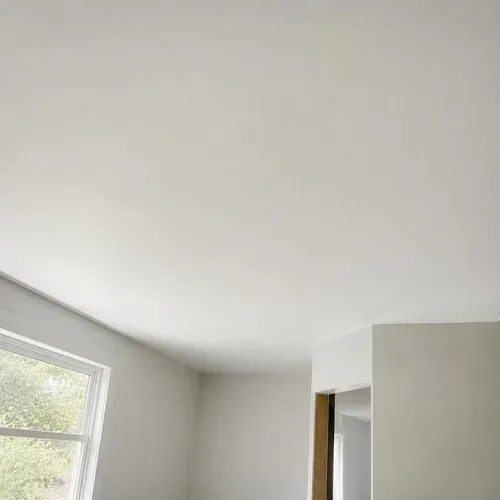
After Smooth finished ceiling with the filled pot light holes completely invisible
Smooth finished ceiling with the filled pot light holes completely invisible
See the stages in between
Several open recessed light holes across a ceiling after a lighting layout was changed
Circular drywall plug cut and fitted into a pot light hole, backed so it cannot drop
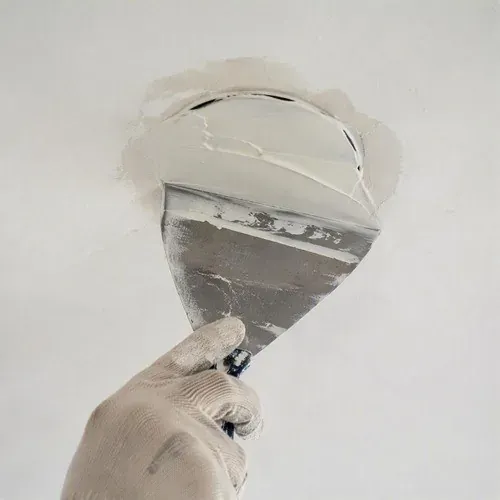
Mudding over patched recessed light holes, feathered wide across the ceiling
More about pot light hole repair ›

Drywall Soundproofing

Resilient channel, dense board, acoustic sealant and decoupled assemblies for shared walls, home offices and media rooms.
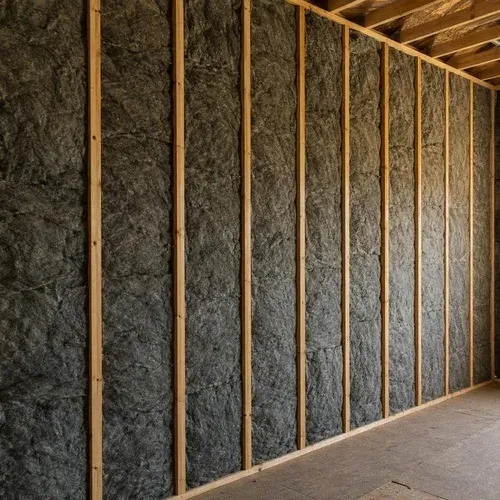
Before Sound insulation batts packed between interior wall studs to absorb airborne noise
Sound insulation batts packed between interior wall studs to absorb airborne noise
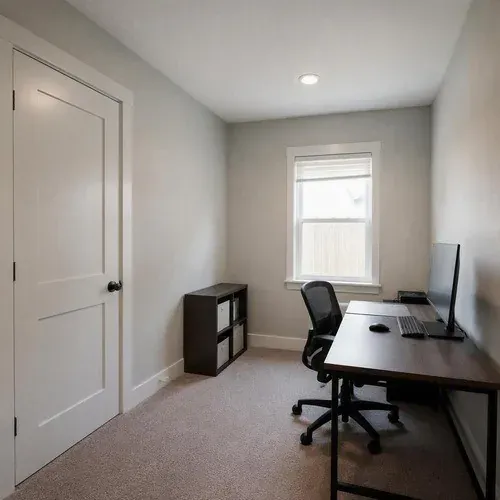
After Finished home office wall after soundproofing, with no sign of the assembly behind it
Finished home office wall after soundproofing, with no sign of the assembly behind it
See the stages in between
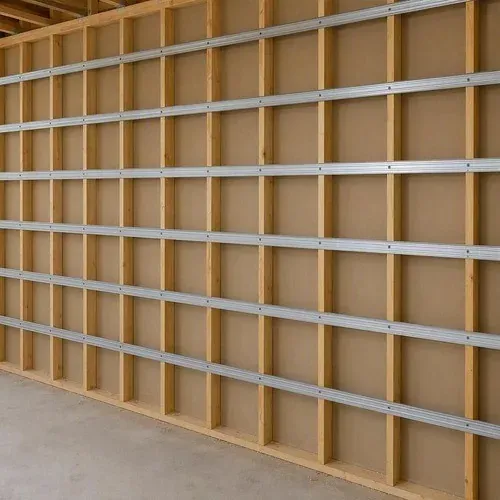
Resilient channel installed over studs to decouple the drywall from the framing
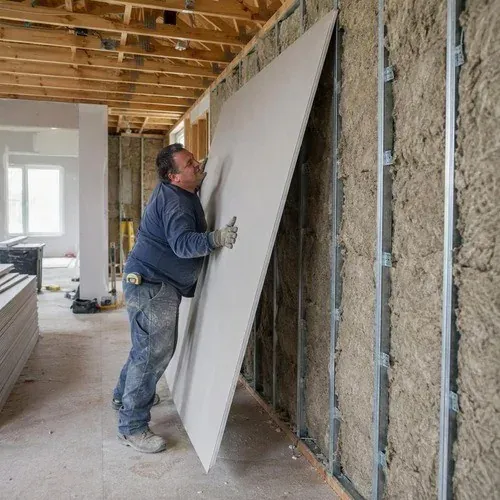
Dense sound-rated drywall panel being lifted into place over resilient channel
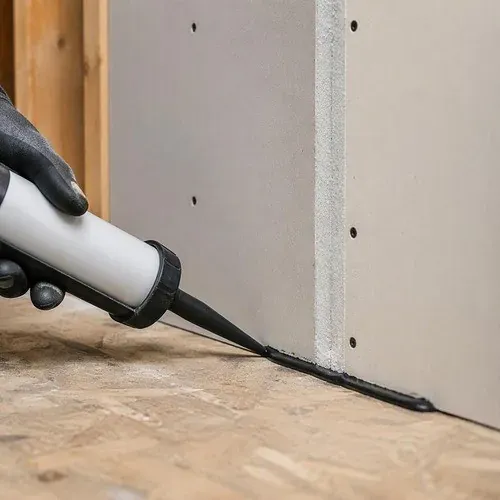
Acoustic sealant run along the wall perimeter, because an unsealed gap undoes the whole assembly
More about drywall soundproofing ›

Drywall Insulation

Batt and blown insulation with vapour barrier detailed properly before the board goes on and hides it for good.
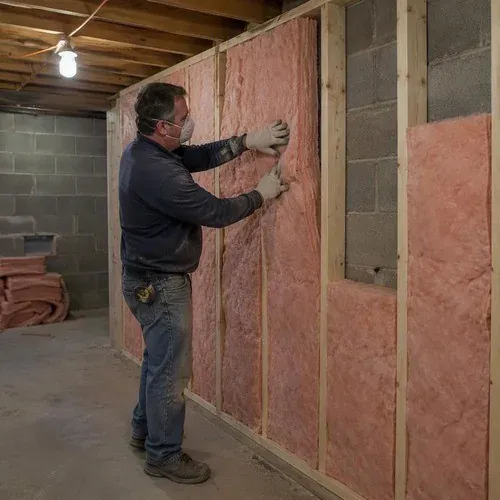
Before Fitting insulation between basement wall studs, friction-fit with no gaps or compression
Fitting insulation between basement wall studs, friction-fit with no gaps or compression
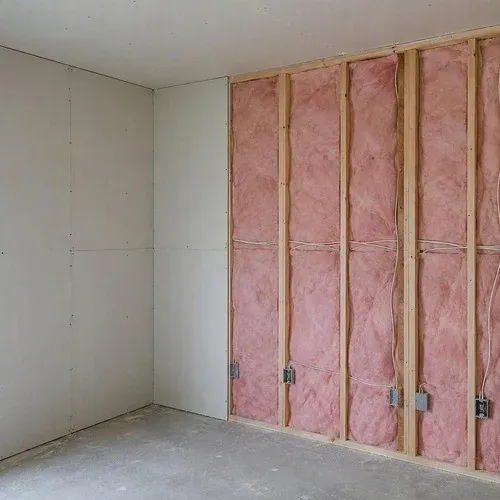
After Insulated wall closed in with new drywall once the vapour barrier passed inspection
Insulated wall closed in with new drywall once the vapour barrier passed inspection
See the stages in between
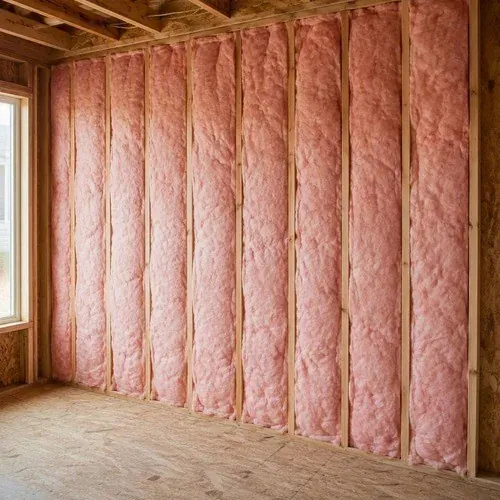
Fiberglass batts filling an exterior wall cavity to the full depth of the stud
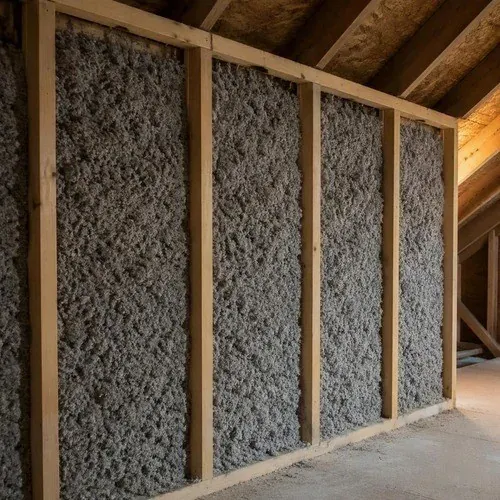
Blown cellulose packed into an attic knee wall where batts cannot reach
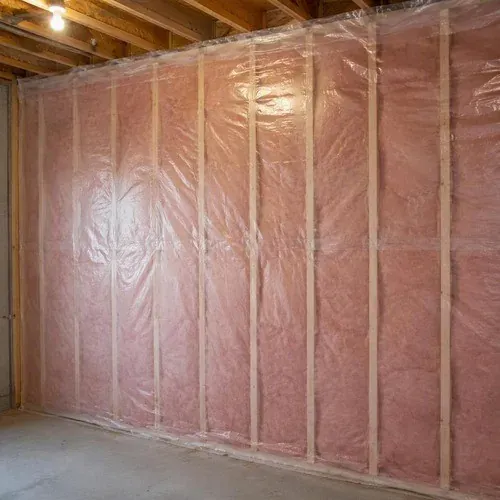
Vapour barrier stapled and sealed over an insulated stud wall before inspection
More about drywall insulation ›

Stucco Repair

Cracked, chipped and crumbling stucco patched back to the surrounding texture, with the lath behind it put right first.
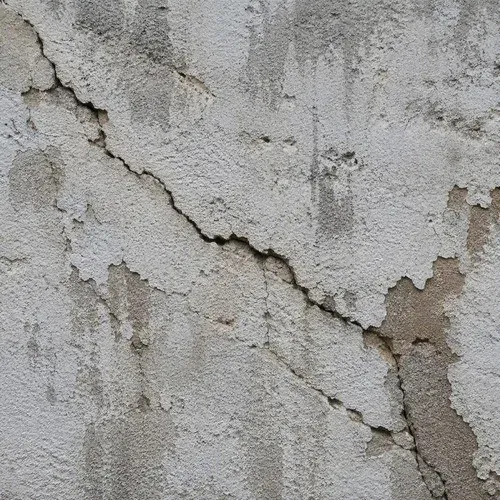
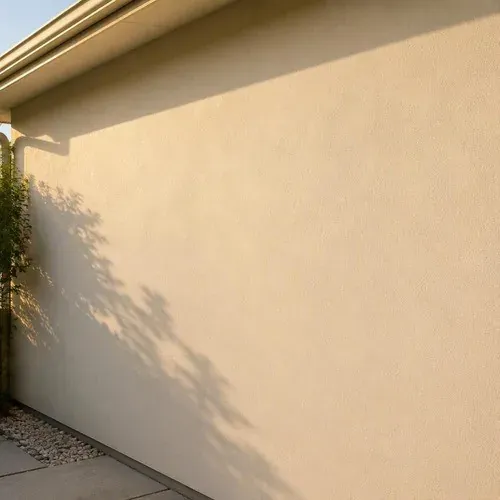
Before Cracked exterior stucco wall with a chipped, spalling surface letting water behind it
Cracked exterior stucco wall with a chipped, spalling surface letting water behind it
After Repaired stucco wall textured to match the original and freshly painted
Repaired stucco wall textured to match the original and freshly painted
See the stages in between
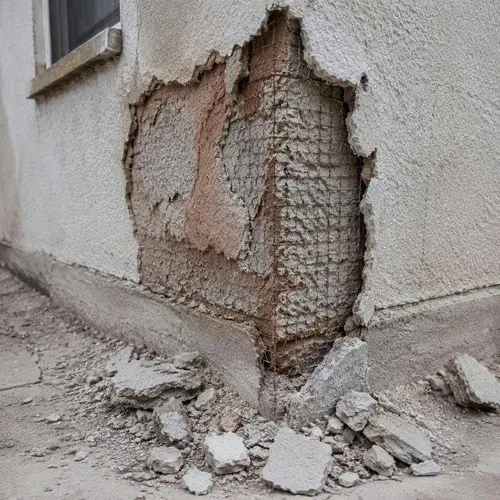
Crumbling stucco corner exposing the wire mesh lath that has to be secured before patching
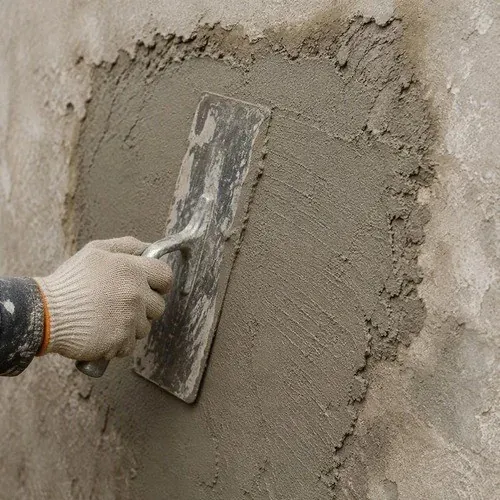
Hand troweling fresh stucco onto a patched wall section, built up in coats
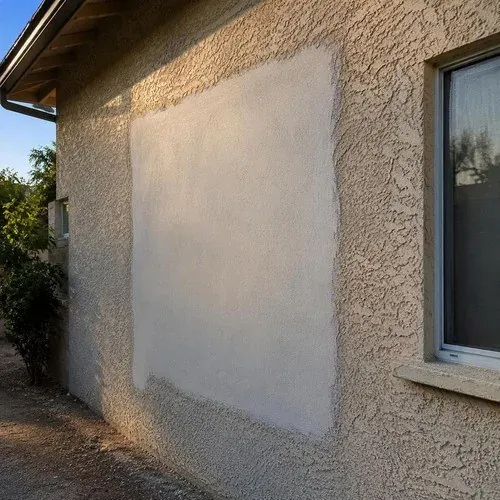
Stucco patch curing against the older textured wall while the texture match is worked in
More about stucco repair ›
20+
years in the trade
1,500+
jobs completed
$2M
liability insurance
WSIB
fully covered

Want your walls to look like the right-hand column?

Send us a photo of what you are dealing with. For repairs, that is usually enough for a price without a site visit.

Call (289) 723-3544